Now that mirrors have been completed, it's time to get back to adding content to the interior and exterior of buildings. Maybe after I've added enough object variety these will start looking like real buildings.
First up, I've added fences around the yards of some houses. These are very simple wooden fences with vertical posts and two horizontal slats. Some go around only one side of the house, and others enclose a section of the yard with a gap for a gate. Fences are only added to L-shaped houses that have an area of yard interior to their bounding cubes.
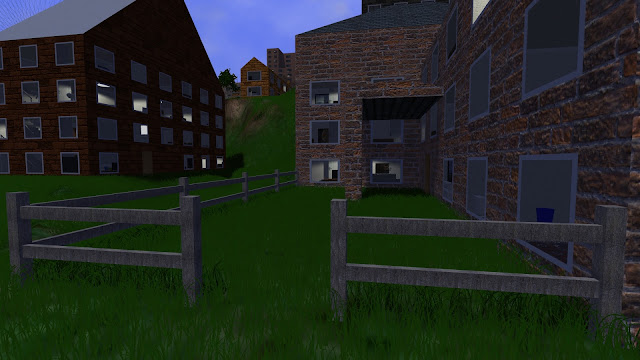 |
House with a simple wooden fence around the front yard, and an opening where a gate should be.
|
That's it for exteriors. Moving onto interiors, some first floor windowless rooms of office buildings have been made into storage rooms containing stacks of crates and boxes. I would like to add some sort of shelves on the walls, but I haven't gotten to that yet.
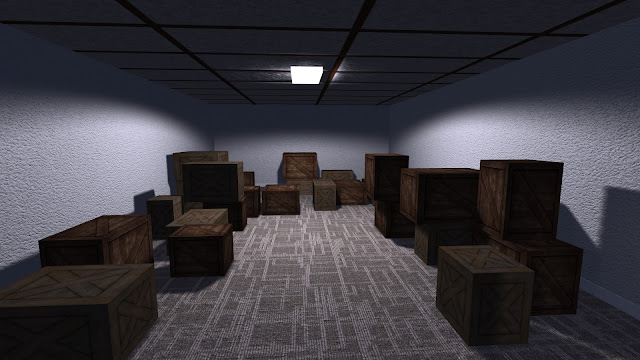 |
Storage room with no windows and two different types of crates stacked up along the walls and back.
|
While writing this post I decided that shelves should be easy to add, so here they are. Some walls have 2-4 shelves stacked vertically and held up by regularly spaced metal brackets. Here is an example of a storage room with 4 stacked shelves along three walls. That looks much more like a storage room to me. Now I just need to figure out what objects to add to the shelves. More crates/boxes?
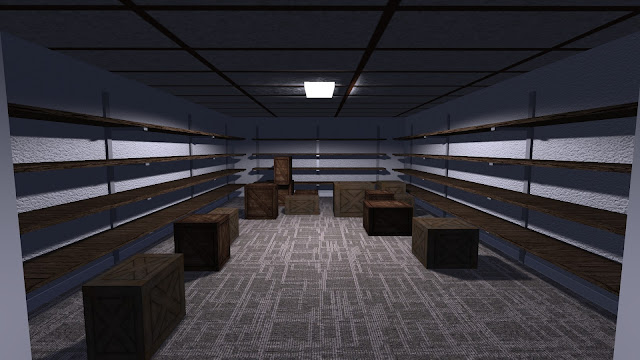 |
Storage room containing various crates and empty shelves along three walls.
|
I've updated office swivel chairs to a model that has textures and is more interesting than the uniform black color of the previous chair model. In addition, I replaced some of the simple cube chairs with these chair models for desks that have computer monitors in houses.
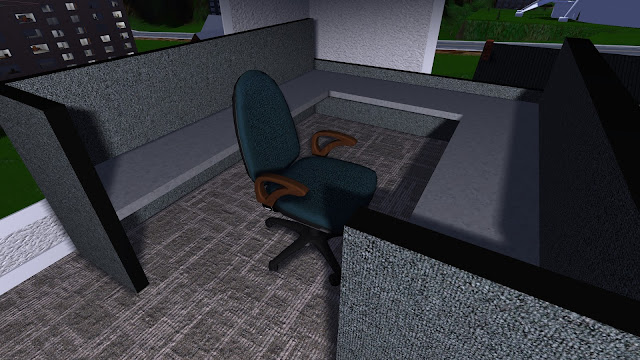 |
A cubicle with the new office chair 3D model, complete with textures.
|
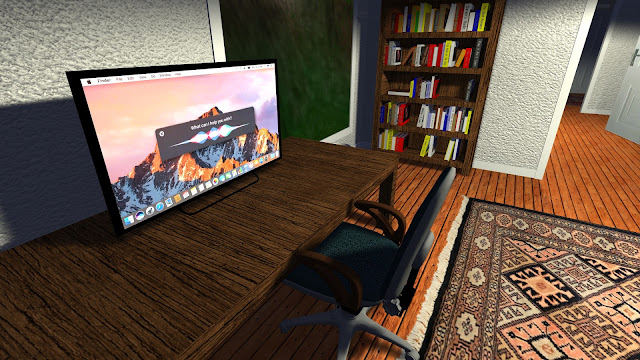 |
Office chair at an office desk and a computer monitor that's turned on.
|
I went back and made a second attempt at potted plants. The pots had looked good, but I wasn't able to get the alpha blending to work on the leaves. This time I switch to a second (more expensive) shader that has alpha testing and alpha blending enabled. Now the plant leaves are drawn properly. Pots come in a variety of different colors, and there are five different plant/leaf textures. One or two potted plants can be added to a living room, and one plant can be added to some other room types such as dining rooms.
 |
A potted plant in the corner of a room. Plants come in various sizes, aspect ratios, pot colors, and leaf textures.
|
Now that bedrooms have dressers and nightstands, I can place smaller objects on top of these. What objects should I add? Well, I have lamps on some of the dressers and nightstands in the bedrooms of my real life house. Lamps are a good place to start.
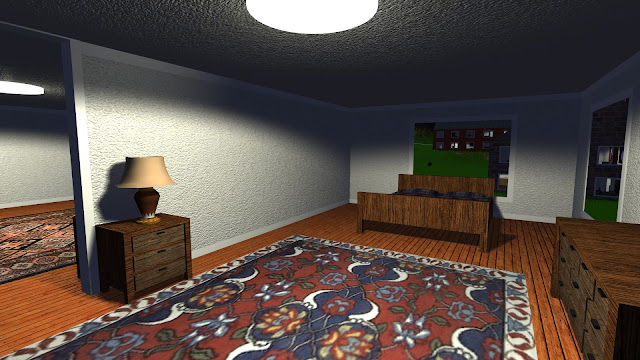 |
A lamp has been placed on the nightstand to the left in this bedroom.
|
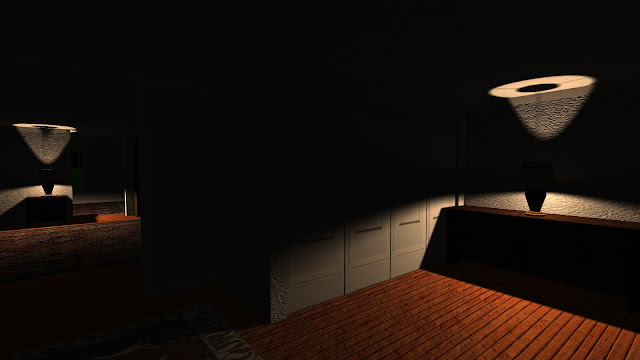
I haven't made the lamp a light source yet. Light should be partially transmitted through the lampshade, which isn't something I can currently do. I suppose if I wanted to attempt this, I would need two shadow maps, one pointed up and the other pointed down. ... Okay, I can't resist. I added those two light sources for lamps. There's no indirect lighting, and no transmission through the lampshade, but the shadows on the ceiling look too good not to enable this. I also managed to get the light to cast a faint upward unshadowed area to sort of simulate light passing through the lampshade.
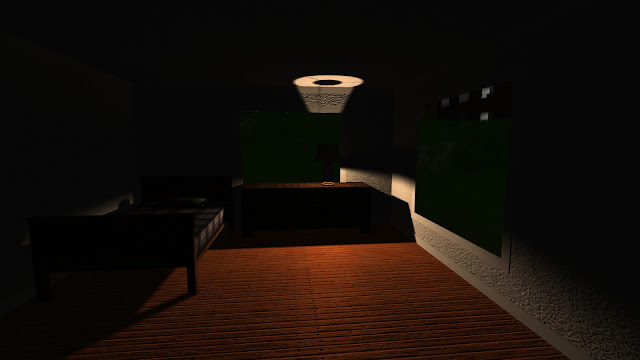 |
A lamp placed in an otherwise dark room at night, with shadow maps, shining on the ceiling and floor.
|
 |
Two lamps can be see turned on in adjacent rooms at night.
|
I think it would look better if the lampshade was lit, but I'm not sure how to actually do that. Use two different lamp models, one with an emissive lampshade for the lamps that are turned on? How about just setting the emissive color before drawing the lamp if it's turned on, and reset it after the draw? Yes, that last one seems to work. Here is a new lamp screenshot with an approximation to diffuse light transmission through the lampshade.
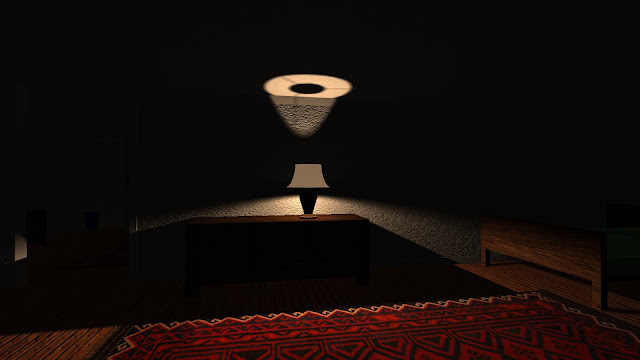 |
Now the lampshade is emissive when the lamp is turned on.
|


The lit-up lamp shade is a good start. Maybe try removing the lamp-shade from the geometry that casts shadows, and then add a point source for illuminating the room? You could use a very low-res shadow map to simulate the very soft shadows you get from the large diffusion area of the lamp shade.
ReplyDeleteIf you could add the emission to the existing diffuse color of the lamp shade, that would look even better. Bonus points for putting a gradient on it so it's brighter in the middle and dimmer at the top and bottom.
I added a shadowless diffuse light source constrained to the room bounds around the lamp, which helps with indirect lighting. Right now the lighting system just loads the lamp as some generic 3D model, it doesn't really know which vertices are part of the lampshade. I can sort of figure it out by looking for the material with the highest luminance color/texture, which is kind of what I did with the emission - except that includes some bits that aren't really part of the lampshade. Maybe if I split the model up into two parts or flagged the materials somehow I could do it. Emission is per-material rather than per-vertex, so I don't know how I would create a gradient without using a custom shader.
DeleteAs to what to put on the shelves, cardboard boxes? When you get clutter working, boxes of clutter items would look a lot like office supplies.
ReplyDeleteI added crates to shelves. I did experiment with cardboard boxes, but I didn't see anything I liked. If I use a plain box texture then it looks like an untextured brown object. If I use a texture with ink/symbols such as "fragile" and "this way up" then it doesn't look good if each of the 6 faces has the same texture. I guess I need at least 3 textures for top, long, and short sides - which is a lot of work for a simple box.
Delete