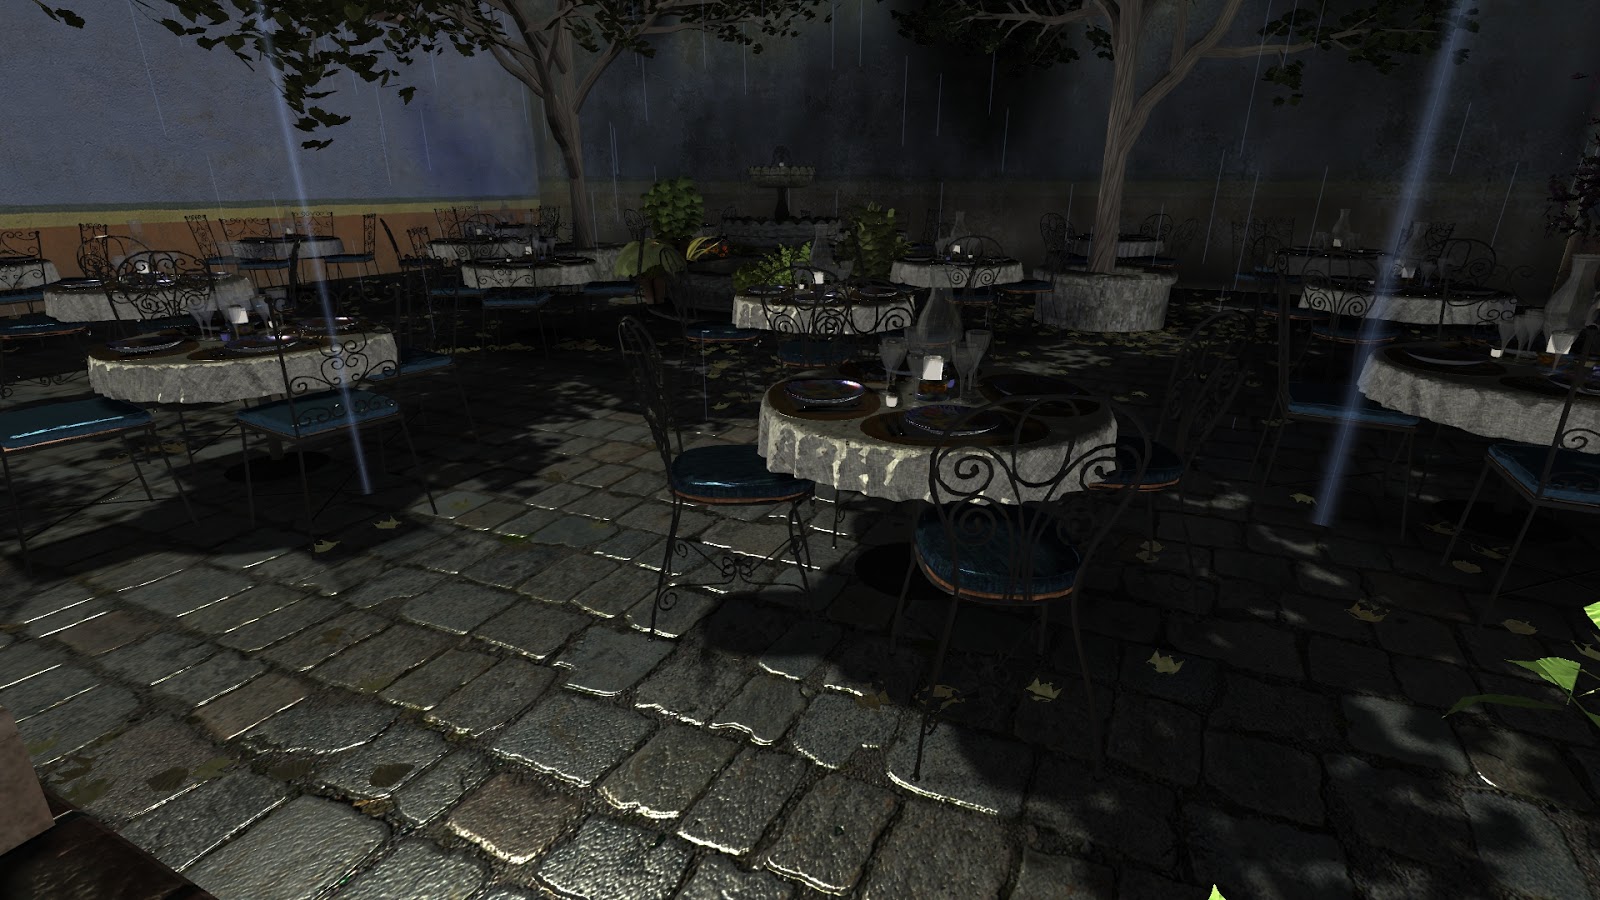
Here are two screenshots showing a rainy San Miguel. The wet look on the stone ground, tables, and chairs is achieved by decreasing the material diffuse lighting and increasing both specular intensity and specular exponent. This is a pretty simple effect, but works well in practice, especially on the ground. Wetness is higher for horizontal surfaces, and surfaces that have an unoccluded view of the sky above. These are the surfaces that naturally receive and accumulate the most water.
The raindrops themselves are drawn as vertical lines that quickly fall in a mostly vertical direction depending on the wind. They look much better in a dynamic scene than they do in the static screenshots shown here. Each drop is visible for only a few frames.
 |
| Rain and wet ground. Raindrops are drawn as lines and look much better when moving. |
 |
| Rain and wet ground + objects from another angle. |
I also enabled snow coverage and let the simulation run for a few minutes. Snow is accumulated over time and is drawn as a white layer on top of the normal textured scene geometry as a postprocessing step in the fragment shader. Snow thickness/density is a function of polygon normal and is highest for horizontal surfaces that face the sky above. Since the camera is above the scene in this screenshot, most of the visible surfaces such as the tree leaves are pointed up and have a high snow density.
 |
| Snowy scene from above, after several minutes game time of accumulated snowfall. |
I enabled the snow coverage mask for the next two screenshots. This works by precomputing a depth-based coverage mask for the scene that stores the vertical distance from the sky plane for each pixel. The fragment shader accesses this texture to determine whether the current fragment is at or below the recorded occluder height. If the fragment is below this height, it is occluded by other scene geometry from above and receives no snow. The texture is blurred using multiple projection angles to simulate a randomization from the typical vertical snowfall. This smooths the edges of the snow coverage mask in areas of high frequency geometry, such as under the trees. However, if snow is left to fall over an extended period of time, this saturates the coverage layer and produces sharper boundaries (as seen below).
The first image was created using a low resolution 512x512 coverage mask, and the second image was created using a much higher resolution 2048x2048 coverage mask. The second image contains higher frequency content for a more accurate representation of snow coverage, though it takes much longer to compute. Preprocessing time is still under a minute on 4 cores. I don't think it looks all that much better though.
 |
| Snowy scene using a low resolution 512x512 snow coverage mask. |
 |
| Snowy scene with a high resolution 2048x2048 snow coverage mask. The snow "shadow" from the trees can be seen. |
I'll continue to experiment with snow effects. It would be interesting to see how well true volumetric snow accumulation works on this scene. This will likely take several hours of CPU time, and generate a large amount of voxel coverage data.
[Update: It in fact only takes 7 minutes to create the snow volume for 1 billion simulated snowflakes. I underestimated how well the bounding volume hierarchy scales to scenes with many polygons. However, the snow coverage is very noisy due to the large number of small leaves and other objects. I think the white color non-volumetric snow actually looks better. If you're interested, here is a screenshot.]
 |
| Volumetric snow simulated using 1 billion snowflakes. |
No comments:
Post a Comment